Last Updated: January 2024
The foundation of any good sourdough bread is a great sourdough starter. The starter contains the yeasts that make the dough rise. It’s also the essential flavor of sourdough bread.
I have heard of people who fear making a sourdough starter. Or worry that they kill their starter. But maintaining a good starter is not hard. It just takes a little patience and practice. The initial prep time takes dedication to ensure you get a good starter.
There are two ways to end up with a sourdough starter. A quick way using store-bought yeast to jump-start the process and a natural way that uses no outside yeast. This article will cover both ways and give you some pros and cons of each.
Natural starter method
If you want a more natural starter with only simple ingredients, this is the method you want to use. It uses the natural wild yeasts found in the flour. This method also can take more time to create flavor and a vigorous yeast capable of making bread.
Only flour and water are used in the natural method. The process tends to work best using either whole wheat flour or whole rye flour. While it is possible to make it work using unbleached flour, it will take extra time. A starter that uses unbleached or bleached flour may also be more prone to fail more often. Once started, you can switch to bleached flour if needed but I highly recommend against it.
Update January 2024: Lately, no matter the brand of unbleached flour I purchase, the starter begins to slow its growth. I am unsure what gets added, but using whole wheat flour gives me a very active starter, doubling in size within a few hours. Using unbleached flour might not double at all in 24 hours.
The process
The process is pretty much the same for any method. Feeding refers to giving the yeast in the mixture food by adding fresh flour and water and discarding from your mixture by removing a set amount. This discard is what is then used to make the various recipes that call for some sourdough starter.
Day 1 – Getting started
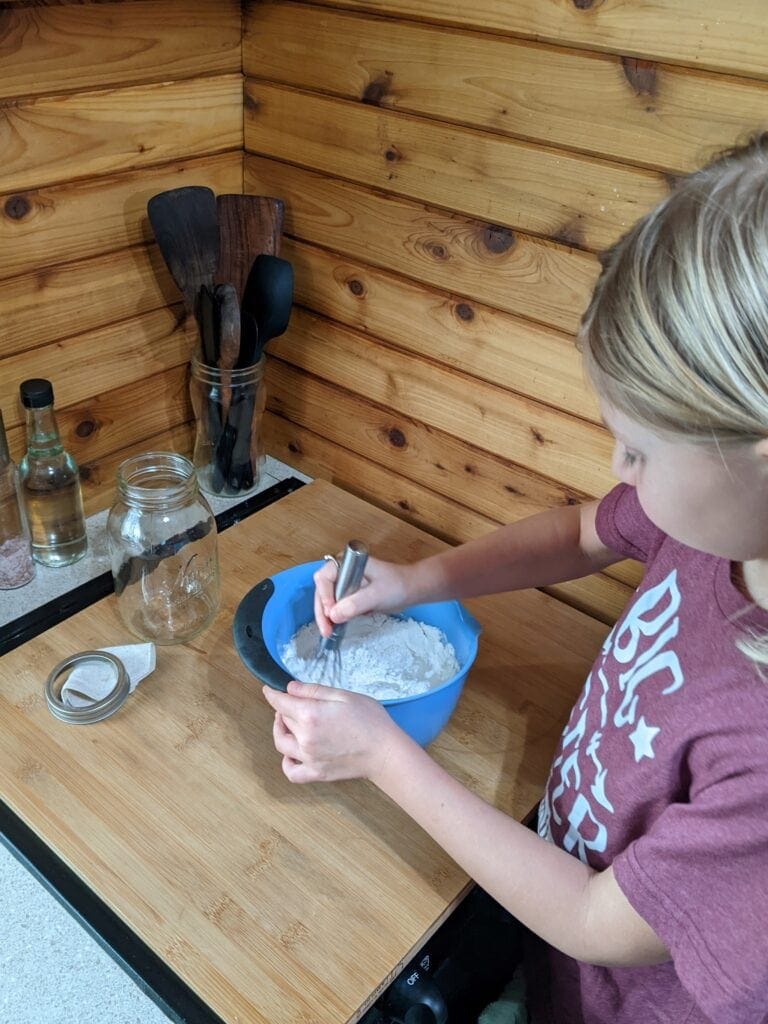
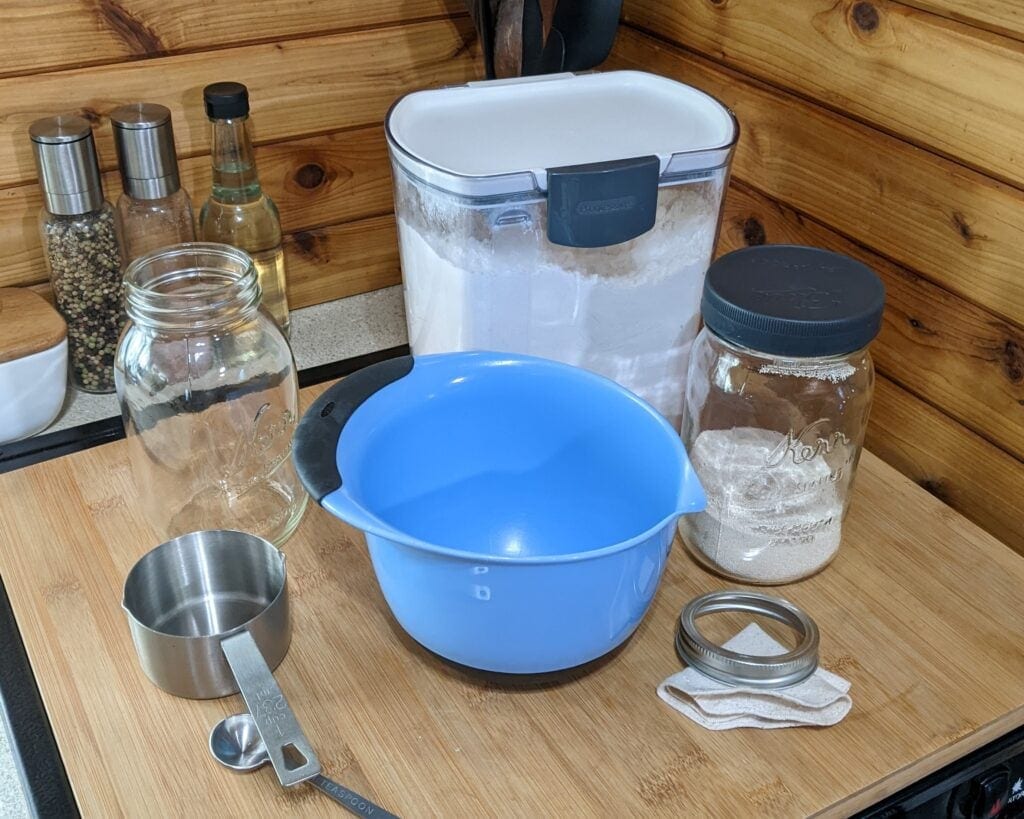
This first day you start with ¼ cup of flour and ¼ cup of water. Mix until smooth, then add to a mason jar. I prefer quart jars, but smaller ones work fine too. Cover the mouth with a paper towel and ring. Place on a warm (65-75 degrees F) counter or other location. Some people use the top of their fridge.
I like to put a rubber band on the jar at the level of my starter, moving each day as I add. This allows me to see how it grows and know how the starter is doing. It will climb above the band and then fall overnight.
On the first day, your starter might not rise at all. It may take time to really start to grow. But at a minimum, it should start to get bubbly. If you don’t see any bubbles at all in the first 24-36 hours, you will need to start again.
Day 2
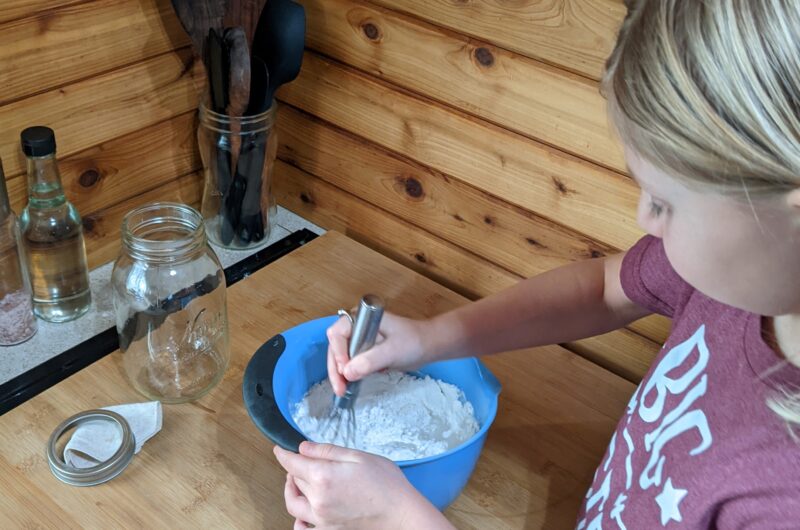
In a separate dish, mix another ¼ cup of flour and water. Add this mix to your starter jar and mix the two. I like to dump my starter from the jar, mix it into the fresh stuff, and add it back to the jar after cleaning. Keeping the jar sides clean helps to cut down on mold until the starter is growing well and has started to ferment.
Re-adjust the rubber band to the new level.
Day 3-6
Repeat the process from day two. Add a ¼ cup each day. Do not discard anything.
By day six you should easily get a rise of ½” above the rubber band in an average quart jar. If not, keep working on it by following the day 7+ instructions. Your starter may not have much flavor until it gets going better.
Day 7+
This is the first day I do a discard. From here forward you will need to discard a set amount and add back the same amount. This process is considered feeding your starter and needs to happen at least once every 48 hours. Every 24 hours is better for a more active starter.
Discard 1 cup of your starter mixture. I take my starter and discard it either into a recipe I am using or into a separate jar and place that jar in the fridge until I have enough for what I am making. After 2-3 days of no use, I discard completely this extra.
Mix 1 cup of flour and ¾ to 1 cup of water in a separate bowl as well as the remaining starter (around 1 cup), then return to a clean starter jar. You may need to add additional water to create a smooth pancake batter consistency. Adjust the rubber band as necessary.
If you find that your starter is overflowing the jar, you can discard all but an ½ cup of starter instead of 1 cup as called for above.
Continue to complete this step for the life of your starter, using and discarding as needed.
Quick starter method
This method ignores the natural yeasts present in the flour and allows you to create a starter fast. It does not develop the flavor fast, but it would make bread even on day two if you had to. The fermenting process begins quickly using store-bought yeast strains. It is also more foolproof, as the yeast is introduced rather than waiting for wild strains to develop.
There are three basic ingredients to this method of starter. Instead of only flour, and water, you now have yeast, flour, and water. Because of the store-bought yeast, this method works easier with bleached flour and water with larger quantities of chlorine. Start day one but with a ¼ tsp of yeast added to the directions from above.
Make sure you leave this recipe in a larger vessel for the first few days. It will rise considerably more than the basic starter method. Follow days 2-7 as you would for the natural method of adding and discarding as above. Do not add more yeast after day one.
Starter Tips
Maintaining your starter is easy enough, but sometimes it gets away from you or you want a vacation. There are also some issues you can run into with your sourdough starter. So, let’s look at these and how to overcome them.
Days Off
Once your starter is going well, you can take days off by storing it in the fridge. This will slow the process and cause your starter to produce more alcohol instead. It becomes more inactive and not as useful for making loaves of bread.
You can store the starter in the fridge for several days to a few weeks without feeding. The longer it is stored, however, will mean it needs a longer time to get going and active again. Follow the day seven directions for a few days to get an active starter again before using.
I forgot to feed it
If you forget to feed your starter it’s OKAY. Don’t stress it. Depending on how long you let it go, you may have a problem. Examine the top of your starter and its jar for signs of mold. If mold is present, follow the mold section below.
If no mold is present, begin the feeding cycle again. It may take a few days to get going again. If you see no signs of bubbles or growth after the first few days, it’s probably time to start over. Otherwise, keep feeding until you have a happy starter.
Liquid on top
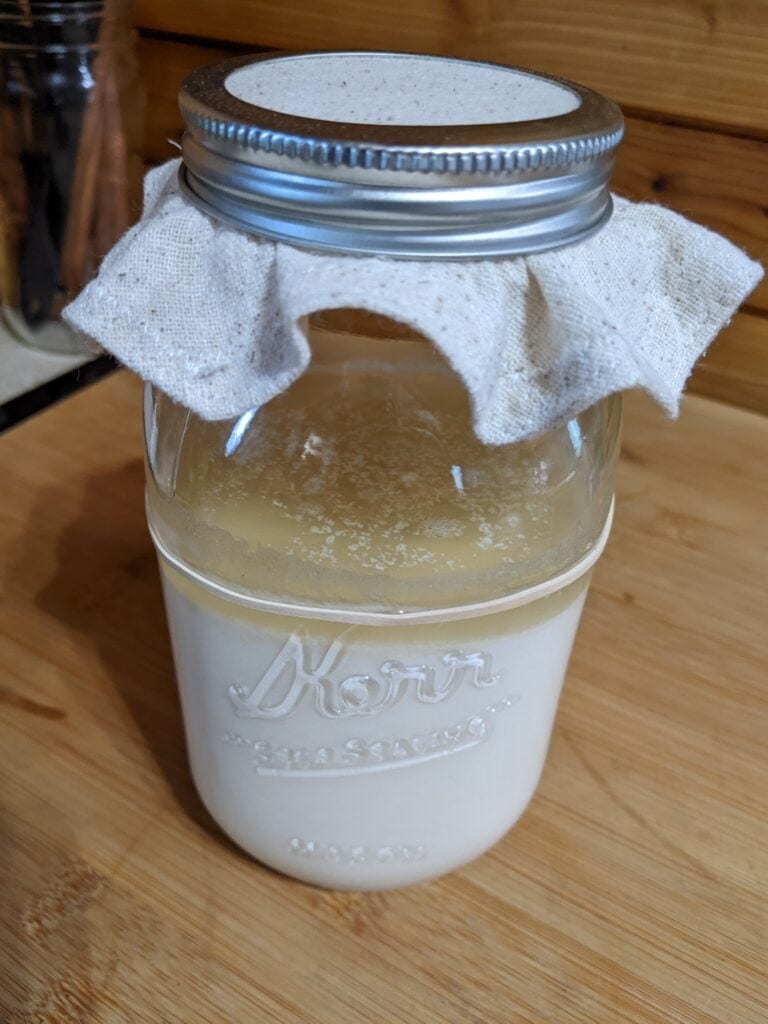
The liquid on top of your start is a by-product of the process and part of the flavor. If you are actively feeding your starter, just mix this back in each time you do a feeding.
If you have stored your starter in the fridge for a prolonged period, you may end up with a large amount of liquid on top. This will contain natural alcohol and can change the flavor of your bread. If desired, you can drain off some of this liquid and resume feeding without it.
Mold
Mold can quickly be the end of your starter if not treated properly. I will never suggest trying to save something you are uncomfortable with, nor can I make health recommendations. It is up to you if you feel comfortable using your starter if it develops mold. But I can give you some suggestions on what to do.
Early in the process of creating a starter: If you get mold this early, it’s probably time to start over. You have not lost much time, and the mold probably came from an external contaminant. The starter has not been fermented enough to help prevent the mold.
After creating a successful starter: If you develop mold after your starter has been going for a while it is normally due to lack of feeding or external contamination.
If it is just a small spot or two on top of your starter liquid, it is possible to skim off the liquid and any mold carefully and save the starter. The liquid on the top normally creates a barrier and protects the starter mix below it.
Larger spots or mold in the mix itself will require a complete restart. I also recommend a restart if your jar ends up extremely moldy, as you probably won’t be able to extract your starter without contamination.
A dry crust on top
While unlikely after starting as long you are feeding it regularly, if the top of the starter dries out you should be able to skim off the top and continue. Make sure to monitor your starter to ensure it gets going again.
Having a cover over your starter can help avoid this problem. Make sure the cover is breathable. Don’t go too long between feedings so the starter mix does not have a chance to dry out.
Too cold or hot
Yeast dies off in hot temperatures. If you are expecting a heatwave, find a place for your starter that won’t get above 75 degrees F. If you have no counter space or storage area that will be cool enough, I recommend placing your starter in the fridge.
If your starter is not growing well, check the temperature of the area you have it. If it is consistently below 65 degrees F, you will need to find somewhere warmer. It will continue to grow in areas with cooler temperatures, but not ideally. The yeast will go dormant rather than continue to multiply.
Less Starter
You do not have to keep half a quart jar or more of the starter rotating all the time. You can scale it back to tiny amounts and still feed it regularly. This works well if you want to keep a version of your starter alive and kicking, but are not actively making things. You will accumulate less discard, and it will be easier to manage.
However, there is a catch with this. The smaller the amount, the more likely you will end up with a dried-out bit on top. And that could mean you no longer have enough to rotate if you go small enough. In the end, you need to decide how much discard and active starter you can handle with what your family needs and bakes.
That’s It
That’s all there is to it. Nothing to be afraid of. The longer you keep a single starter batch the more flavorful it will become. That’s why you hear about sourdough bread made at bakeries using Grandma’s starter being so good.
Sourdough bread is not the only thing you can make either. You can use your starter in tons of other recipes, such as biscuits, pancakes, and much more. Heck, if you are not sure, it never hurts to try it out. You might just come up with the next best thing to fresh sourdough bread 😉.
How to make Sourdough Starter
50
minutes7+
daysIngredients
1/4 cup flour (whole wheat, rye, unbleached, all-purpose)
1/4 cup water
1/4 tsp yeast (optional)
Directions
- Mix ingredients and add to a container. A 1qt canning jar works great. Cover & let rest for 24 hours.
- Every 24 hours, feed another 1/4 cup flour and 1/4 cup water for 6 days.
- On day 7+ discard 1 cup of starter and feed 1 cup of flour and 1/2 cup of water. You may need some extra to create a smooth batter of combined starter and fresh flour/water mix.
- Follow step 3 to feed your starter at least once every 48 hours. Use the discard to make loaves of bread, etc.