Updated November 2023
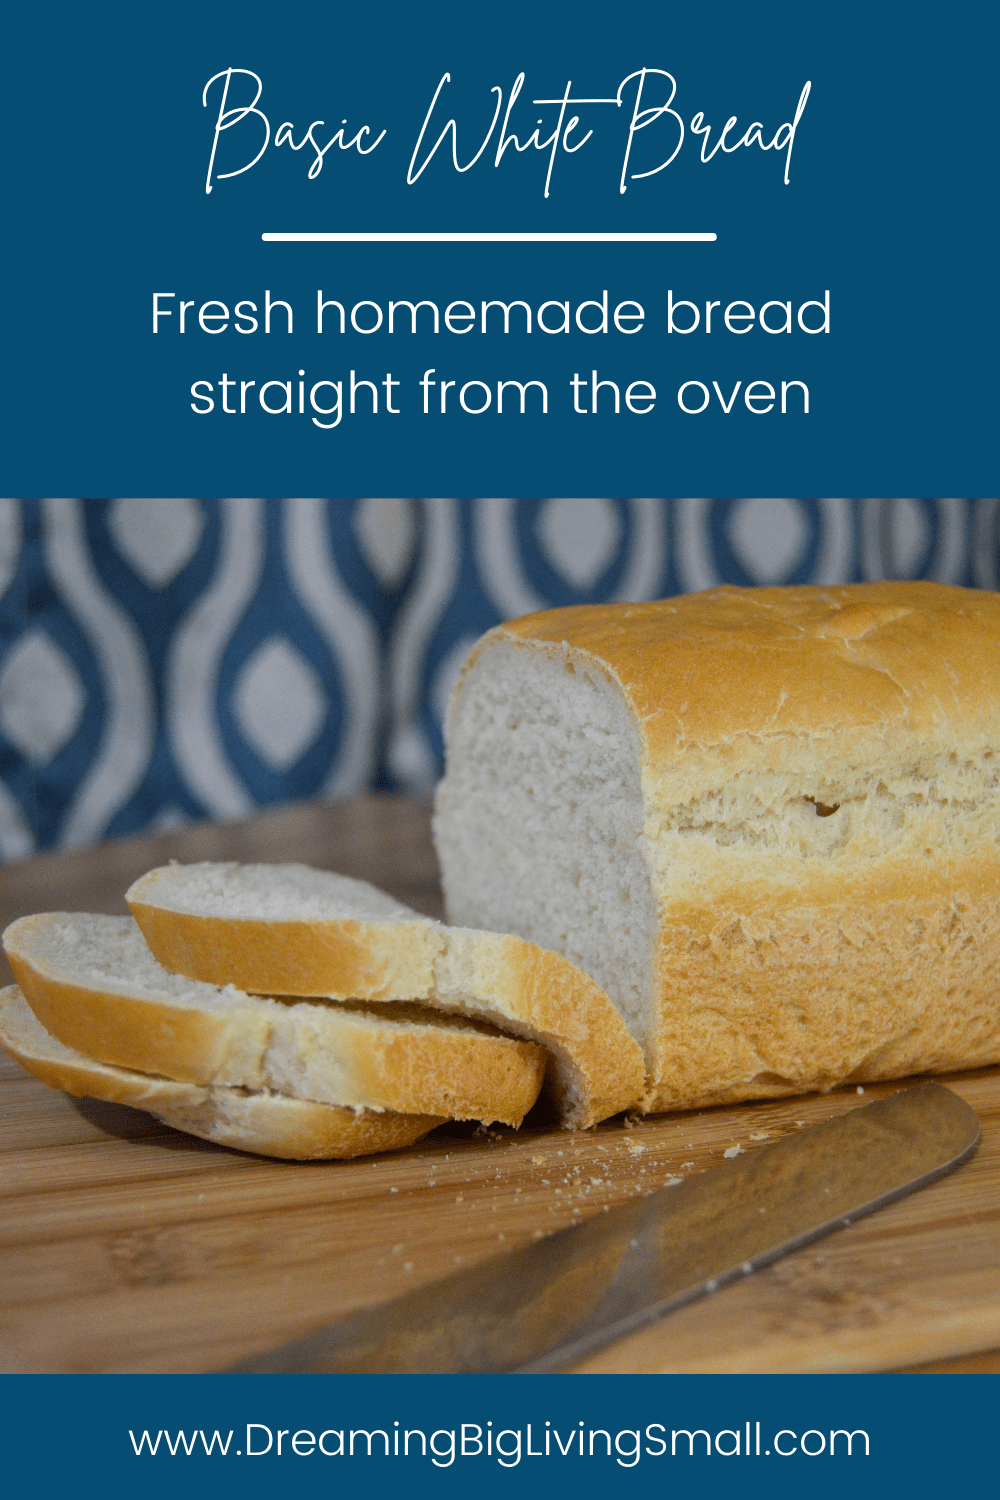
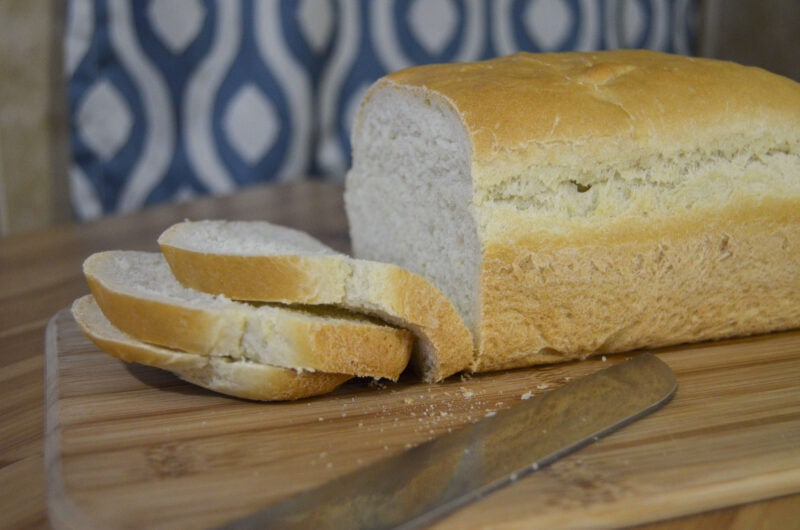
When it comes to making your own homemade bread, there is no simpler place to start than with a basic white bread recipe. And nothing beats a hot fresh slice of bread with a little butter.
Breadmaking requires a few key things. The first is patience. You need to let the bread do its own thing. Just because the recipe says rise for one hour, does not mean that it will be ready in 60 minutes exactly.
Look at the bread, see if it has doubled. Do a finger test and see if the indent stays in the bread. Your kitchen might make it happen in 45 minutes vs mine might take 70 minutes. There is no exact time. Have patience and let the bread rise. An under risen loaf will lack spring and be gummy to eat. Yuck.
The second is instinct. Yes, the first time or two you need to follow the recipe. But after that, you should start to feel and observe how the bread behaves. Then you can adjust the recipe. Want a little more spring? Knead it more. Too salty? Lessen the salt.
Making the bread
Start with gathering all your tools and ingredients in one place. Be organized in the kitchen. This will lead to better results in anything you cook.
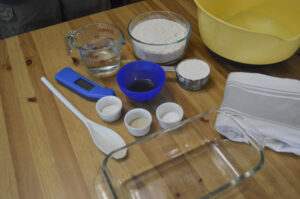
Now that you have everything gathered, add the water to the mixing bowl. If I am going to use our mixer instead of making the bread by hand, I like to heat the water a little hotter than the recipe calls for. The reason for this is to compensate for the cold metal bowl. By the time I am ready to use the water, it is right in the perfect range.
Next, add your sugar and yeast and give it a little mix to combine them. Let this rest for at least 5 minutes. If you store your yeast in the freezer, this may take a little longer. In my kitchen, it’s about 8 minutes. You just want to have a good bit of foam, ensuring a nice active yeast.
If you don’t get any foam within 10 minutes, your yeast is inactive. Check the water temperature and make sure it was not too hot. Then try again. If it fails again, likely you will need to replace your yeast.
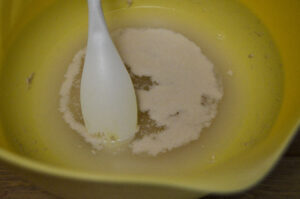
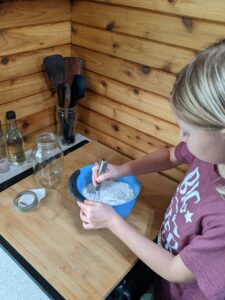
Add your remaining ingredients. I like to add the oil and salt, then flour one cup at a time. Once I get it all in there, I like to get my hands messy and get it all mixed. Work it in the bowl until it forms a ball.
Place on lightly floured cutting board. Knead for at least 8 minutes. I recommend 10-12 minutes. The kneading is helping to form gluten and create a stronger loaf. More gluten will make better sandwich bread.
Return to bowl and cover with a damp warm towel. Let rise for an hour, or until doubled. While you are waiting, prepare your bread pan by lightly greasing it.
Once the bread has risen, remove and lightly knead. Shaping into a loaf that will fit your bread pan and place in the pan. I like to press my loaf into the pan, so it gets in all the corners perfectly. Just picky that way.
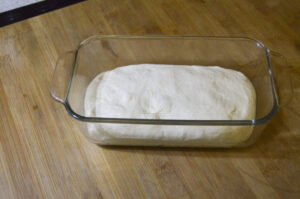
Cover with the towel and let rise. This rise should take it close to the top or just over the top of the pan. You measure from the middle of the loaf, not the edges. This normally takes around 45 minutes.
While the bread is completing the second rise, preheat your oven to 375 degrees. It is important to have a preheated oven to prevent the bread from over-rising while the oven heats.
Bake for 40-50 minutes, or until golden brown on the crust and internal temp reads 180-185 degrees.
For ease in removing from the pan, you can let it cool for a few minutes. Then remove from pan and place on a cooling rack. Serve warm if desired.
If you are wanting to use the bread with sandwiches, I recommend fully cooling the loaf. This allows the bread to hold up better against spreads such as peanut butter. This loaf of bread was designed to be simple, utilizing standard food storage items. It avoids milk and eggs, which are harder to store long-term. It was also perfected to fit in our small oven. You can easily double to make two loaves or adjust as desired.
Many people oil their bowls when they place the bread back to rest. However, I have found with these bowls made by OXO Good Grips, the dough does not stick to them as much so I don’t need oil. I also like the rubber bottom so they don’t slide across the counter while I am working on mixing.
Basic white bread
25
minutes45
minutes1
hour45
minutesA nice fluffy loaf of bread, perfect for everyday eating or sandwiches. Simple to make and works well with food storage supplies.
Ingredients
1 cup warm water (110 degrees F)
1 tbsp sugar
1 1/2 tsp active dry yeast
2 tsp salt
2 tbsp olive oil
2 ½ – 3 cups flour
Directions
- In a large bowl, dissolve the sugar in warm water, and then stir in yeast. Allow to proof until yeast resembles a creamy foam (5-10 minutes).
- Mix salt and oil into the yeast then mix in flour one cup at a time. Knead dough on a lightly floured surface until smooth (10-12 minutes).
- Return to the bowl and cover with a damp warm cloth. Allow dough to rise until doubled in bulk, about 1 hour.
- Punch dough down. Lightly knead. Shape into a loaf, and place into well oiled (buttered) 9×5 inch loaf pan. Allow to rise for 30-45 minutes, or until the dough has risen between ¼” below level with pan to just above pan edge. Measure from the middle of the loaf.
- Bake at 375 degrees F (175 degrees C) for 40-50 minutes until golden brown. Bread should read around 180-185 degrees.
Notes
- Adjust as needed to match your tastes and oven.
- 3 cups of flour tend to work the best for my area and house warmth. Try out different amounts until you get the rise you want.
