Growing up, I spent a lot of time on my grandparent’s farms. My dad’s parents owned a dairy farm. While they had to close the dairy down after their big barn fell, they continued raising cows until my grandpa got sick. My mom’s parents had both cows and sheep when I was younger. Unfortunately, I grew up in a city where we couldn’t have livestock, but that desire was always still there.
When Alex and I got married, we started planning our garden and talked about getting chickens which our city allowed. I spent time in our local library picking out books to read and learn. At first, it felt overwhelming, and then we found out I was pregnant with our first son. At this point, things kind of got put on hold but I continued to learn as the years went on.
Fast forward to 2015. Our family had moved out to the coast, and we had added one more kiddo to the mix. We had gotten our garden going and we were talking about raising chickens. A friend from church told us that they would get us started with baby chicks. We ran into multiple roadblocks, including their incubator not working but they were so sweet to order us nine baby chicks. When they brought them to us, we were so excited. We had purchased the food and water containers as well as the heat lamp. We set up their brooder in a large tote in the back room of our office.
Setting up a brooder
You may ask what a brooder is and why do you need it? When baby chicks are hatched by a hen, they are kept safe by their mother’s warmth. When they come from a hatchery, they need a safe space to stay warm, eat, drink and sleep.
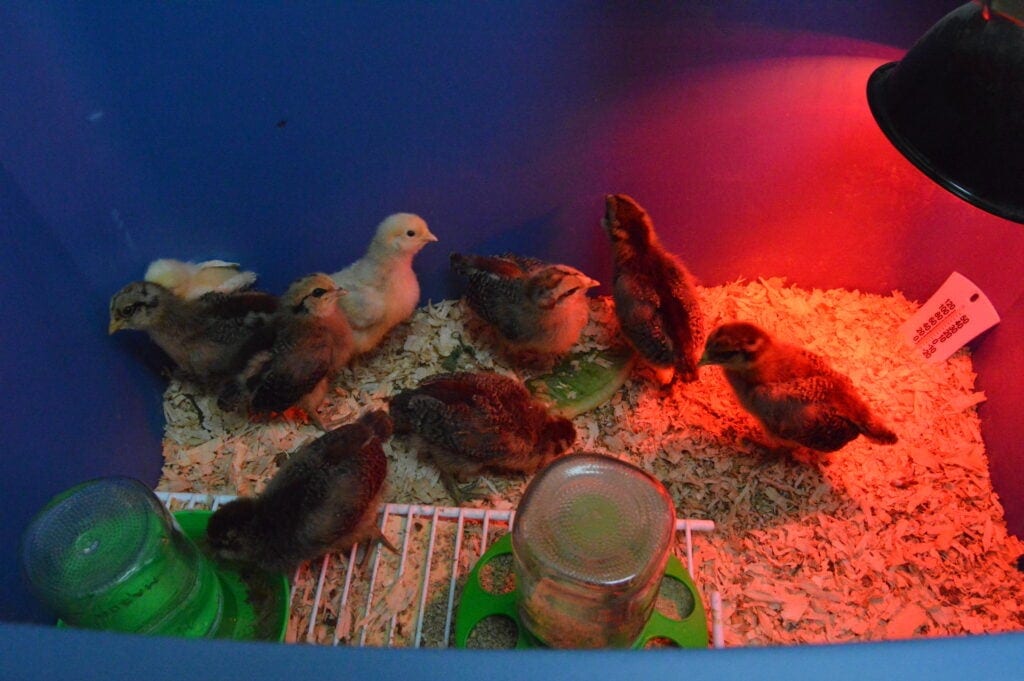
So, what do you need for a brooder?
A large tote. We used a larger tote that we had just sitting around. It was nice that I could take it outside and clean it out.
A heat lamp or Thermal heater. We got a heat lamp at the time but over the years as I’ve watched other people lose their whole flocks to coop fires, I would honestly look at buying the thermal heater in the future.
Thermometer. Keeping your chicks at the proper temperature will help keep them healthy. Too warm and you cook them, too cold and they freeze. Some heat lamp kits come with a thermometer but if not, you can easily pick one up for cheap.
Bedding. Some people lay down straw but for us, we preferred pine shavings till they got bigger. It was easier for them to run around on and absorbed any smells well. (Note: Do not use cedar shavings as they can cause respiratory issues for chickens.) While smaller bales of shavings can be picked up online, it’s often more cost-effective to go to your local feed store and grab the bigger bales.
Food and water containers. You can order them online or pick them up in pretty much every feed store. I loved that the ones we got worked with regular mouth canning jars so I could easily see how much food and water they had, and I could easily throw them in the dishwasher when they got dirty. They also make flip-top feeders which work well if you have a larger number of chicks.
Feed. There are different types of feed, what kind of feed you use is totally up to you. To start with you’ll need a chick starter feed. We prefer organic but it can be expensive, so we at least avoid medicated feed unless there is a reason for it. Another thing you will need is chick grit. Grit is what helps chickens break down food in their gizzard. For chicks, they need something smaller, especially since they aren’t outside roaming around just yet.
What’s in a coop?
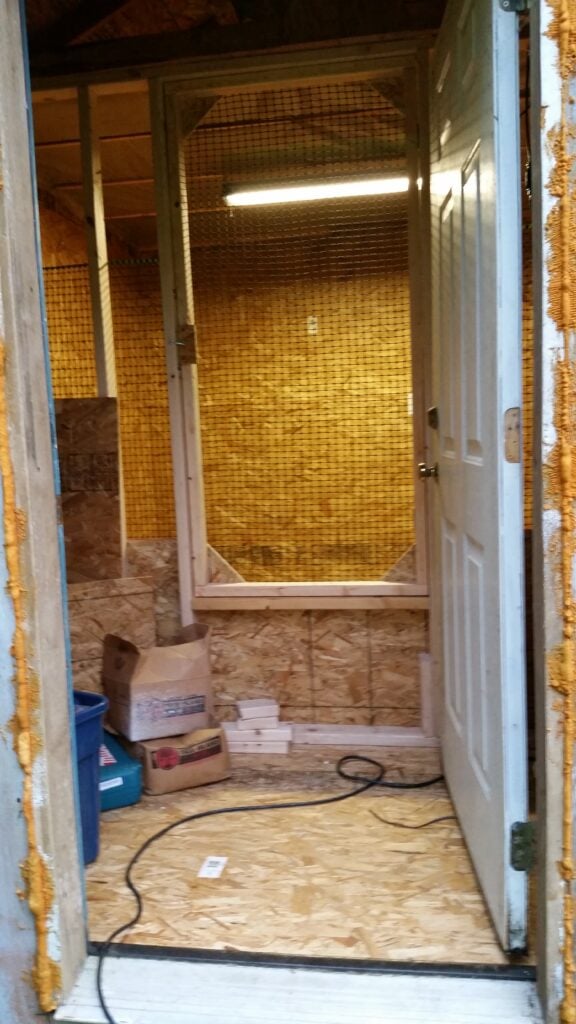
One question I see quite often is “how big does my coop need to be?” This is going to vary based on how many chickens you want. For larger breeds, you need about three to four square feet per bird if you plan to have an outdoor space like a run or if you give them the ability to free-range. This amount of space prevents overcrowding and fighting. It also allows room for roosting bars, nesting boxes, and potentially food and water if you choose to keep them indoors. If you choose not to have a run or allow your chickens to free-range, you will need a much larger area.
When we first had our chickens, we had a large shed on our property. It wasn’t in bad shape, but it needed a bit of work. We cleaned out all the old cabinets, tools, and random stuff left by the previous owner. We put in new boards both on the floor and walls and built a short wall a few feet from the front with some of the green plastic mesh that went from the wall to the ceiling. This allowed us to store the food and extra bedding inside of the coop where it would stay dry and keep the rodents out of it. It also allowed us to come in and check on the girls without them escaping out the main door. We had a couple of different feeders in the coop, and we built a watering system with nipple waters and PVC pipes.
When we moved, we had to build a new coop. We learned a lot in the process. Our goal was to build an A-frame, but we realized that it was going to be too short, so we made walls that were about 18” tall to raise the a-frame a bit. Although it was tight, we could still walk in to clean out the bedding, feed, water, and collect eggs. We hung their feeder and water bucket by eye hooks on the framing and put a 2×4 as a roost on the opposite side. We tried putting a crate in there as a nesting box but no matter where we put it, they almost always created their own next to lay in. I ended up giving up on the nesting box idea.
At first, we didn’t have a run, but we needed to get the girls moved over as our other property was closing soon. They were still young at the time, so we weren’t worried about them going outside just yet. While many people choose to free-range, we couldn’t. We had quite a few coyotes, two mama black bears and their cubs, and countless other animals that wandered the peninsula where we lived. When we were ready to put in the run, I stood inside the coop and held a board in front of the studs while my husband cut a hole for the door from the outside… We didn’t want any curious little beaks getting caught in the saw blade. We had a dog run that we attached to the side of the coop. It had a cover that protected our girls from the local hawks and owls.
Which breed do I pick?
There are so many breeds out there, so which ones are best? This is often determined by a couple of factors. First, what is your intention? If you’re wanting birds for just eggs, try finding those breeds who lay more frequently. Some breeds will lay nearly daily. If you’re looking for meat birds, you’ll want to find a breed that grows quickly and is ready to butcher sooner. These breeds tend to lay fewer eggs, but their meat is still younger so it’s not rubbery from being worked. A good resource I found for picking which breeds we wanted was the Cackle Hatchery website.
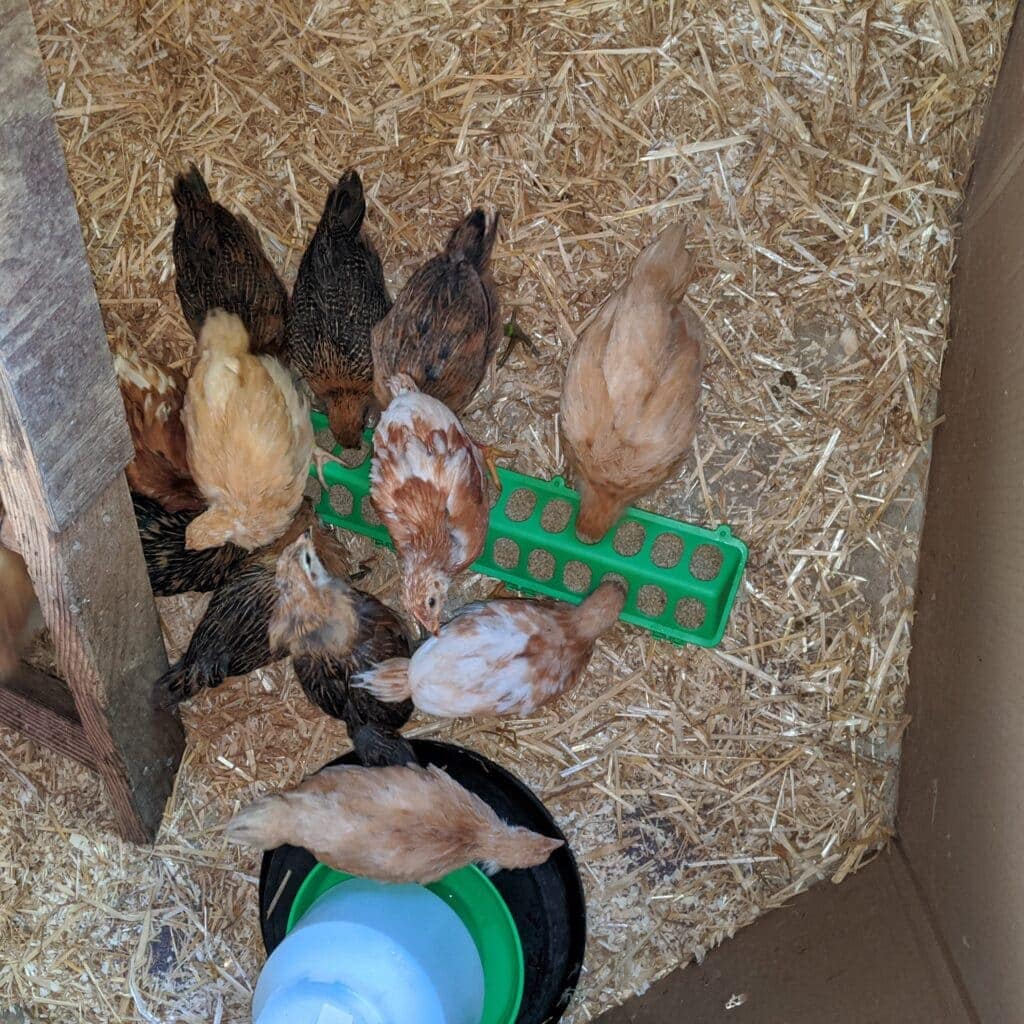
When we first started, our friends had given us two Buff Orpingtons and seven Easter Eggers. When we moved back down closer to family, we ended up having to get rid of our girls. I loved both breeds as they both laid well and they were mostly gentle with my kids. When it came time for my parents to get chickens, they were the first two breeds I looked for. Unfortunately, it was getting toward the end of chick season and our options were kind of slim. I called the feed store and they had five Buffs and five Easter Eggers left. I asked them to put them on hold and we would look at what else they had when we got there.
When we got to the store, the ‘chick lady’ was stuck at the register helping a long line of customers so another lady came over and started helping us get the chicks out of their bins. Somehow, we ended up with eight Buffs and five Easter Eggers, and then we picked out two Golden Laced Wyandotte. When we got up to the register, the chick lady knew something was off…. those extra three buffs, weren’t buffs at all. We had three white leghorns. She also knew that there were way too many chicks in this little carrier, so she swapped places with the other lady, and we went back to the chick section. And while leghorn chickens are average to good layers, I had read multiple times that they were not as gentle, so we swapped them out for three Novogens. In the end, we ended up walking out of the store with fifteen little balls of fluff.
Growing pains
So, you’ve picked out your adorable little fluff balls but a couple of months in and they are starting to look like scraggly teenagers and you’re wondering what happened? Truth be told, there is a stage between cute fluff ball and beautiful fully feathered hen where they look scrawny and kind of ugly, but this stage is so fun. They start to develop their personalities. If the weather is warm enough, it’s fun to take them outside into a chicken run and allow them to explore a bit while supervised. We had one girl who discovered she loved to swing on the swings we’d made from a stick and paracord ropes. She did it for quite a while too.
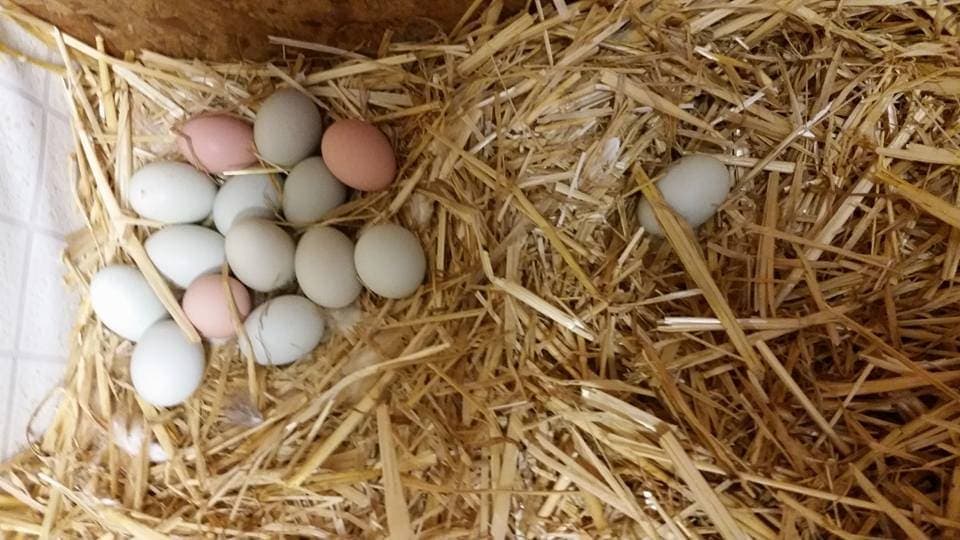
Oh no, he crowed…what do I do now? If you’re like us, one of the hardest days was realizing Miss ‘Addi’tude was really an Andy. When we had our chickens the first time, our friends told us that they were giving us nine because they often got one rooster for every two hens. Turns out, we got luck of the draw and had nine hens. When we helped my parents get theirs, one turned out to be a rooster. I will never forget getting the text from my mom “he crowed”. He had been handled enough that he was gentle for a while but as his spurs grew in, he became more aggressive both to the girls and then to us. There are a couple of options. If you’re in the city, most roosters aren’t allowed thanks to their crowing so you can post in local groups and see if there is anyone that wants them. If you’re outside the city, you can probably keep them if you want, just know that you may one day find a broody hen sitting on a secret stash of fertilized eggs and have a fresh hatch at some point. I would suggest you keep handling the rooster as much as possible. This tells them that you are dominant over them. Some are gentle and will never be a problem. The last option is they become dinner. This becomes the fate of many roosters because you can only have so many roosters for a flock of hens.
Treats
Don’t forget the treats. Chickens love eating scraps of food, dandelions, cut grass (not fertilized or treated), grubs, and mealworms. Kitchen scraps such as carrot peels are ok. But don’t feed them potato peels which can make them really sick, or garlic & onions which can make the eggs taste funny. Our chickens love getting treats, and the kids enjoy giving them to the birds.
Conclusion
In the end, I always tell people to do their research, so that they know what they’re getting into. So far, we have raised egg layers but our goal is to eventually raise meat birds as well to help provide our family with a source of meat when the store shelves are empty.


